Tuesday, April 5, 2011

Fun with pancakes

I don't like pancakes.

Not really.

Let's face it, pancakes are pretty boring. They exist almost exclusively as an excuse for people to eat lots of butter and syrup. But I make them a lot. Almost every week, in fact. Because my daughter loves pancakes. And I have found that you can take even the most banal and uninteresting foods and make them...fun.

So in the interest of parent-child relationships, I am going to share a very easy way to to take the boring, lifeless pancake and turn it in to a celebration of breakfast.

All you need is some pancake batter, some food colouring, squeeze bottles and some creativity.

The recipe itself is very straightforward. The mix - the dry stuff - I make in bulk.

The Mix:

4 cups flour
3 Tbs baking powder
2 tsp baking soda
1 tsp salt
2 Tbs sugar

Mix all of the ingredients and store them in an airtight container.

Now when you are ready to make the pancakes you have your very own homemade mix.


The Batter:
1 cup pancake mix
1 egg
1 cup milk
1 Tbs butter, melted

Add them all to a bowl and whisk together.

Now comes the fun part.


Adding some colour.


Here's where you'll need the food colouring and the squeeze bottles. I use four 12-oz. squeeze bottles. They can be purchased at most any store where you can buy kitchen supplies or you can find them online. Divide the batter between the squeeze bottles (I use four, but you can use as few or as many you'd like based on your coulour needs) and add whatever colouring you want to each bottle.

It is important to mix the colours into the batter very well and to go bright! As you cook your pancake creations the colours will become more muted and fade a bit as the batter browns.


Now heat up your griddle or put your skillet on the stove. You want to use a lower heat than you normally would for pancakes because you will need time to work with the various colours - I set my griddle at about 275°F.

Get creative.

Using your squeeze bottle very much like a like a pen, create outlines and fill them in with various colours.

If you are uncomfortable with free-hand drawing, you can use cookie cutters as templates and just fill in and embellish.

The only limit is your imagination, and the slow heat of the griddle.


 My daughter loves giraffes and butterflies.


And flowers.

The ends result is a wonderfully fun breakfast. And pancakes that are no longer just a vehicle of syrup and butter, but a stand-alone meal!


Enjoy!

Saturday, February 5, 2011

Apple & Golden Raisin Danish

"Cooking is like love. It should be entered into with abandon or not at all."
--Harriet van Horne


The smells of baking goodness - the warm scent of cinnamon, the heady aroma of yeast, the delicious savour of apples - are among those memories I keep in a special place in my mind. It's like that shoebox of photos that are too precious to put in the big box with all the other photos. Childhood and happiness are wrapped up with those memories.

Both my grandmothers were bakers and my mother is an excellent baker. Christmastime meant boxes and boxes of homemade cookies. And the process of taking all those little jars of spices and ingredients like butter and eggs and flour and making them into cookies and cakes seemed magical.

As I got older I was eager to try this out myself. My mother was very forgiving and patient - and brave! She let an 8-year-old loose in the kitchen and always smiled and complimented me when she tried out the results of my mad kitchen experiments. I'm not quite certain how I did not manage to poison my family, but everyone survived.

Now that I am grown and have a family of my own, I like to take out those memories and use them as an extra spice in my baking. I love all kinds of cooking, but baking holds a special place in my heart.

This recipe is a Danish. And that means pastry. Pastries can be challenging and time consuming, but the reward of making homemade pastry is worth the effort.

Apple & Golden Raisin Danish (from 100 Great Breads by Paul Hollywood)

The first step is making the pastry dough. Start this the day before.

Day one.

For the Pastry


1 package yeast (2 1/4 tsp)
4 cups white flour, plus extra for dusting
1 1/2 tsp salt
1/3 cup super-fine sugar
water to mix
4 1/2 sticks butter, chilled but not cold

Combine the yeast, flour, salt and sugar in a large bowl. Slowly mix in a little water until the dough becomes pliable. On a lightly floured surface, knead the dough until it feels elastic. Put the dough back in the bowl and let it rest in the refrigerator for one hour.


On a lightly floured surface, roll the chilled dough into a rectangle, about 24-inches by 12-inches. Take your chilled butter and flatten it out into a rectangle about 1/2-inch thick. It will need to be big enough to cover two-thirds of your dough. Gently lay it over the dough, aligning it with one side of the dough rectangle. Fold the third of uncovered dough into the center and then fold the covered third over that. Your dough should now be in three layers. Return it to the refrigerator And chill for another hour.


Place the dough on to your lightly floured surface and roll it back into the 24-inch by 12-inch rectangle. Fold a third of the dough into the middle and then fold the remaining third over that, again making it three-layered. Place it back in the refrigerator for another hour. Do this twice more. Wrap the dough in plastic and let it rest in the refrigerator overnight.


Day two.

For the filling


10 apples, peeled and cored
1/2 cup golden rasins
2 tsp ground cinnamon
2 eggs, beaten
apricot jelly, warmed

for the frosting
lemon zest
confectioners' sugar
water


Roll out the dough to about 1/4-inch thick and then cut it into 5-inch squares. Fold the edges into the middle so you have a kind of nest. Place each finished nest onto a paper lined baking sheet. Let the nests rise for two hours at room temperature.


While the nests are rising, cut up the apples into small, chunky pieces. Cook the apples in a pan with just a little bit of water for about 7 minutes. Add the raisins and cinnamon and mix well. Remove from heat and let cool. 


Preheat oven to 400°F. Spoon about 2 tablespoons of the apple-raisin mixture into the middle of each nest. Brush the eggwash onto the exposed parts of dough.


Bake for about 20 minutes or until light, golden brown. Remove them from the oven and brush with warmed apricot jelly. Cool, then drizzle the frosting on the top. (To make the frosting, which should be done just before you need it, put the confectioners' sugar in a bowl, add a little water and mix well. When it has the proper consistency, the frosting will coat the back of a spoon. Add the lemon zest.)


These delectable treats keep well in the refrigerator and when reheated smell and taste just like they came out of the oven.

Enjoy!

Tuesday, February 1, 2011

Pumpkin Banana Chai Smoothie

I like Chai. A lot. And I like smoothies.

This Chai-twist on the smoothie is both tasty and nutritional, with no preservatives, artificial ingredients, and no sugars except for the natural ones found in the bananas and pumpkin.


I start the night before by brewing a cup of Chai.

I brew it the night before for two main reasons: the Chai should be really strong and the Chai should be cold. The brand you use doesn't matter; however the bolder and more stated the flavours are the more they will stand out in the smoothie.

The only other prep to be done in advance, the day or night before, is cutting up and freezing the bananas. The frozen bananas will give that all important freeze-factor to your smoothie.

Those are really the hardest steps right there. Everything else is easy.

Pumpkin Banana Chai Smoothie

1 cup of Chai, brewed the previous day
2 bananas, cut into pieces and frozen
1 - 2 raw eggs
1/2 cup pumpkin puree
1 cup plain yogurt
1 Tbs raw golden flax seed

Put everything in a blender and blend away.

For those adverse to raw eggs, you can choose the protein of your choice, such as whey or soy protein powder.

If there is not enough sweetness for your taste from the bananas you can, of course, add a sweetener. 

This recipe makes enough for two respectable sized smoothies, about 12oz. Or one really big smoothie.


Sunday, January 30, 2011

Ranch-Style Egg & Potato Pie

Nothing would be more tiresome than eating and drinking if God had not made them a pleasure as well as a necessity. -Voltaire


One of the (many) joys of the weekend is being able to make breakfast for my family. During the work week I am usually up and out of the house before they are stirring.

Pancakes and waffles and poached eggs get a little boring, but there's no need to jump through culinary hoops to mix things up and bring a little extra yum to the most important meal of the day.

This morning I made ranch-style egg and potato pie. The list of ingredients is simple. And the it takes less than an hour from start to finish.

4 medium potatoes, peeled
1/4 cup cooking oil
1 tsp salt
1/8 tsp pepper
2 green onions, thinly sliced
2 Tbs minced chives
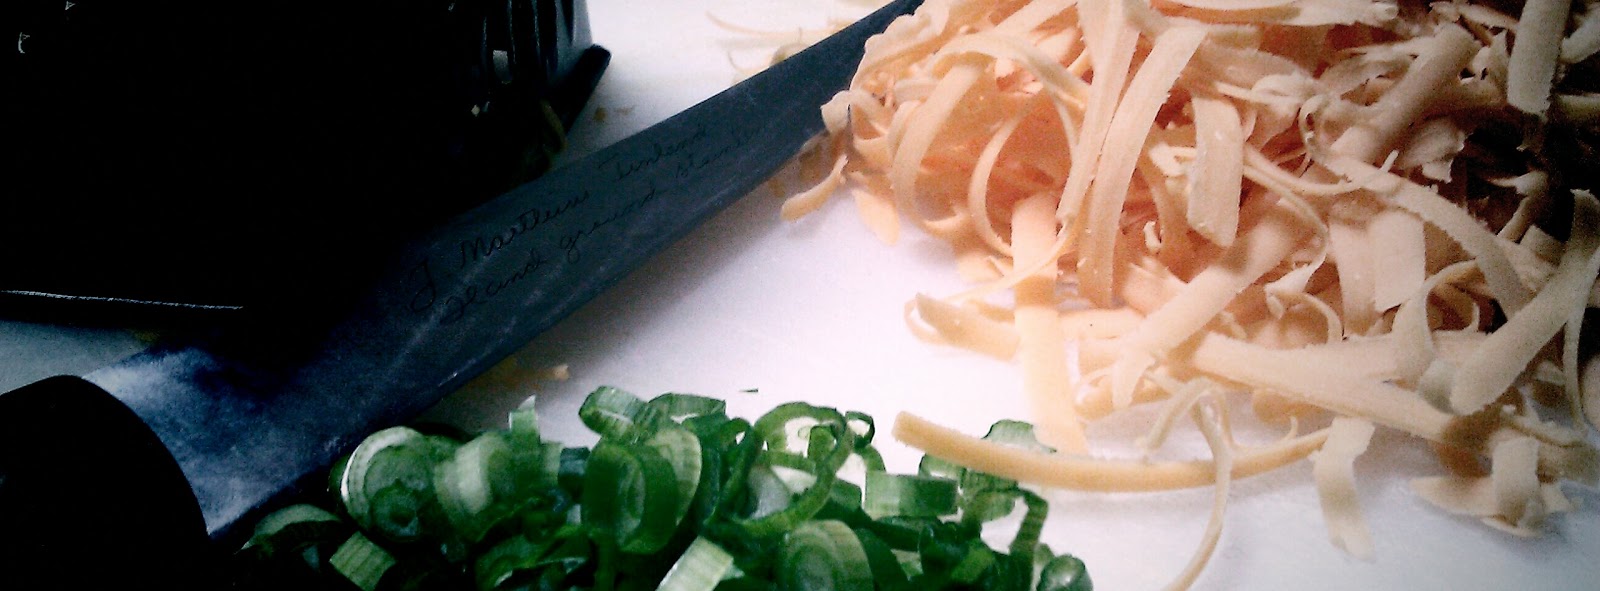
1 cup coarsely grated Cheddar cheese
8 eggs

Slice the potatoes paper thin (a task that requires patience and good hand eye coordination if you do not have a food slicer) into a bowl of cold water. Drain and pat dry the potatoes on paper toweling.

As the potatoes dry, heat the oil in a large, heavy skillet or flameproof casserole - it goes from the stove-top to the oven so I used a large cast iron skillet - for one to two minutes over moderately low heat.

Spread the potato slices over the bottom, pressing them down with a spatula. Sauté them about 30 minutes, without turning or stirring, until a crisp brown crust forms.


Meanwhile, heat the oven to 350°F. Sprinkle the salt, pepper, green onions, chives and cheese over potatoes.


Break the eggs one at a time into a cup and gently slide them on top of the cheese. Space the eggs evenly.


Bake, uncovered, until eggs are cooked to your liking (about five - 10 minutes).

I found this to be hardest part of the whole process as I am not used to cooking eggs in an oven and it was hard to gauge by sight when they were done.

Cut into portions. And enjoy. This served two adults and one six year old with leftovers to spare.


I hope you enjoy this recipe as much as my family and I did. Tasty, nutritious and easy.

Cheers!