Wednesday, November 23, 2011

Lasagna

"Once again, my life has been saved by the miracle of lasagna." 
~Garfield

As the weather gets colder my cooking shifts to heavier, heartier fare. Stews and baked dishes make regular appearances. Not only are they warming and filling, they also make for wonderful leftovers that get better and better each time they are reheated. A favourite in our house is lasagna. This recipe, although more time consuming than using a canned red-sauce, is well worth the effort. And the amount of sauce you end up with is more than you need for the lasagna itself so the leftover can be used as a sauce for spaghetti or other pasta dish.

Lasagna
1 pound ground beef
3/4 pound ground pork
1 Tbs butter
1 Tbs olive oil
1/2 medium onion, minced
6 cloves garlic, crushed
1 (28 ounce) can crushed tomatoes
2 (6 ounce) cans tomato paste
2 (6.5 ounce) cans canned tomato sauce
1 Tbs sugar
1½ tsp dried basil leaves
1 Tbs salt
1/4 tsp ground black pepper
4 Tbs chopped fresh parsley
12 lasagna noodles
16 ounces ricotta cheese
1 egg
1/2 tsp salt
1 pound mozzarella cheese, sliced
3/4 cup grated Parmesan cheese

Tip: chopping or mincing an onion is much easier if you make parallel slices down through the onion , but not all the way through, and then make another set of parallel slices perpendicular to those, again almost all the way through. You can then turn the onion on its side and cut through for perfect pieces.

In a large pan, cook the ground beef and ground pork over medium heat until lightly browned. Drain off excess grease.


In a Dutch oven, melt butter and olive oil. Add the onion and garlic and saute until transparent. Add browned meat and stir in crushed tomatoes, tomato paste and tomato sauce. 


Season with the sugar, basil, 1 Tbs salt, pepper, and 2 Tbs parsley.


Simmer, covered, for about 1½ to 2 hours, stirring occasionally.

Prepare the noodles as per package directions.


In a mixing bowl, combine ricotta cheese with egg, remaining parsley and 1/2 tsp salt. Mix well.

Preheat oven to 375° F.


Cut the mozzarella cheese into thick slices.


Spread 1½ cups of the meat sauce in the bottom of a 9-inch by 13-inch baking dish. Arrange six noodles lengthwise over the meat sauce. Spread one half of the ricotta cheese mixture on top of the meat sauce. Top with a third of mozzarella cheese slices. Spoon 1½ cups of the meat sauce over mozzarella, and sprinkle with 1/4 cup Parmesan cheese. Arrange remaining six noodles lengthwise over the meat sauce. Repeat layers, and top with remaining mozzarella and Parmesan cheese.


Cover with foil.

Bake at 375° F for 25 minutes. Remove foil, and bake an additional 25 minutes.


Friday, November 18, 2011

Holiday Harvest Loaf

"Gratitude unlocks the fullness of life. It turns what we have into enough, and more. It turns denial into acceptance, chaos to order, confusion to clarity. It can turn a meal into a feast, a house into a home, a stranger into a friend. Gratitude makes sense of our past, brings peace for today and creates a vision for tomorrow."
~Melody Beattie

Like many Americans, each year our family gathers for Thanksgiving. This is a big affair including what most would call extended family. The host - usually my aunt - provides the turkey and in the great American tradition of the potluck, everyone else brings all the fixings, side dishes and desserts.

For many years now - more than a decade! - I have volunteered to bring the bread. This is not surprising. I love making bread. In fact, I have been told I should have a bread blog, rather than a cooking blog. Perhaps so.

I don't make rolls or traditional loaves for the feast; but rather I take the opportunity to make an elegant and "fancy" bread that adds to the splendor of the meal. Here's the secret: it is not complicated and is certainly not hard to pull off. Yet the results are worth some accolades and a request for a repeat performance for next year.


Holiday Harvest Loaf
5½ cups all-purpose flour
2 packages active dry yeast
1 Tbs salt
¼ cup olive oil
1¾ cups water
1 beaten egg white
1 Tbs water

Making the dough is a pretty straightforward affair; it is a simple white flour dough. The artistry comes in the presentation.

Put the flour in a large bowl. Add the salt and yeast and mix well. Add the olive oil and then slowly add the water a little at a time, stirring with a spoon and picking up all the flour mixture.

Add enough of the water to make a soft, pliable dough. You may need to add a little extra water if the dough is too dry.

Turn the dough out onto a lightly floured surface and knead until it is smooth and elastic - about five to eight minutes. (If you have a Kitchen-Aid, put on the dough hook and let it knead the dough for about five minutes.)

Shape the dough into a ball. Put the dough into a lightly greased bowl, turning once to coat all sides of the dough. Cover and let it rest about an hour.

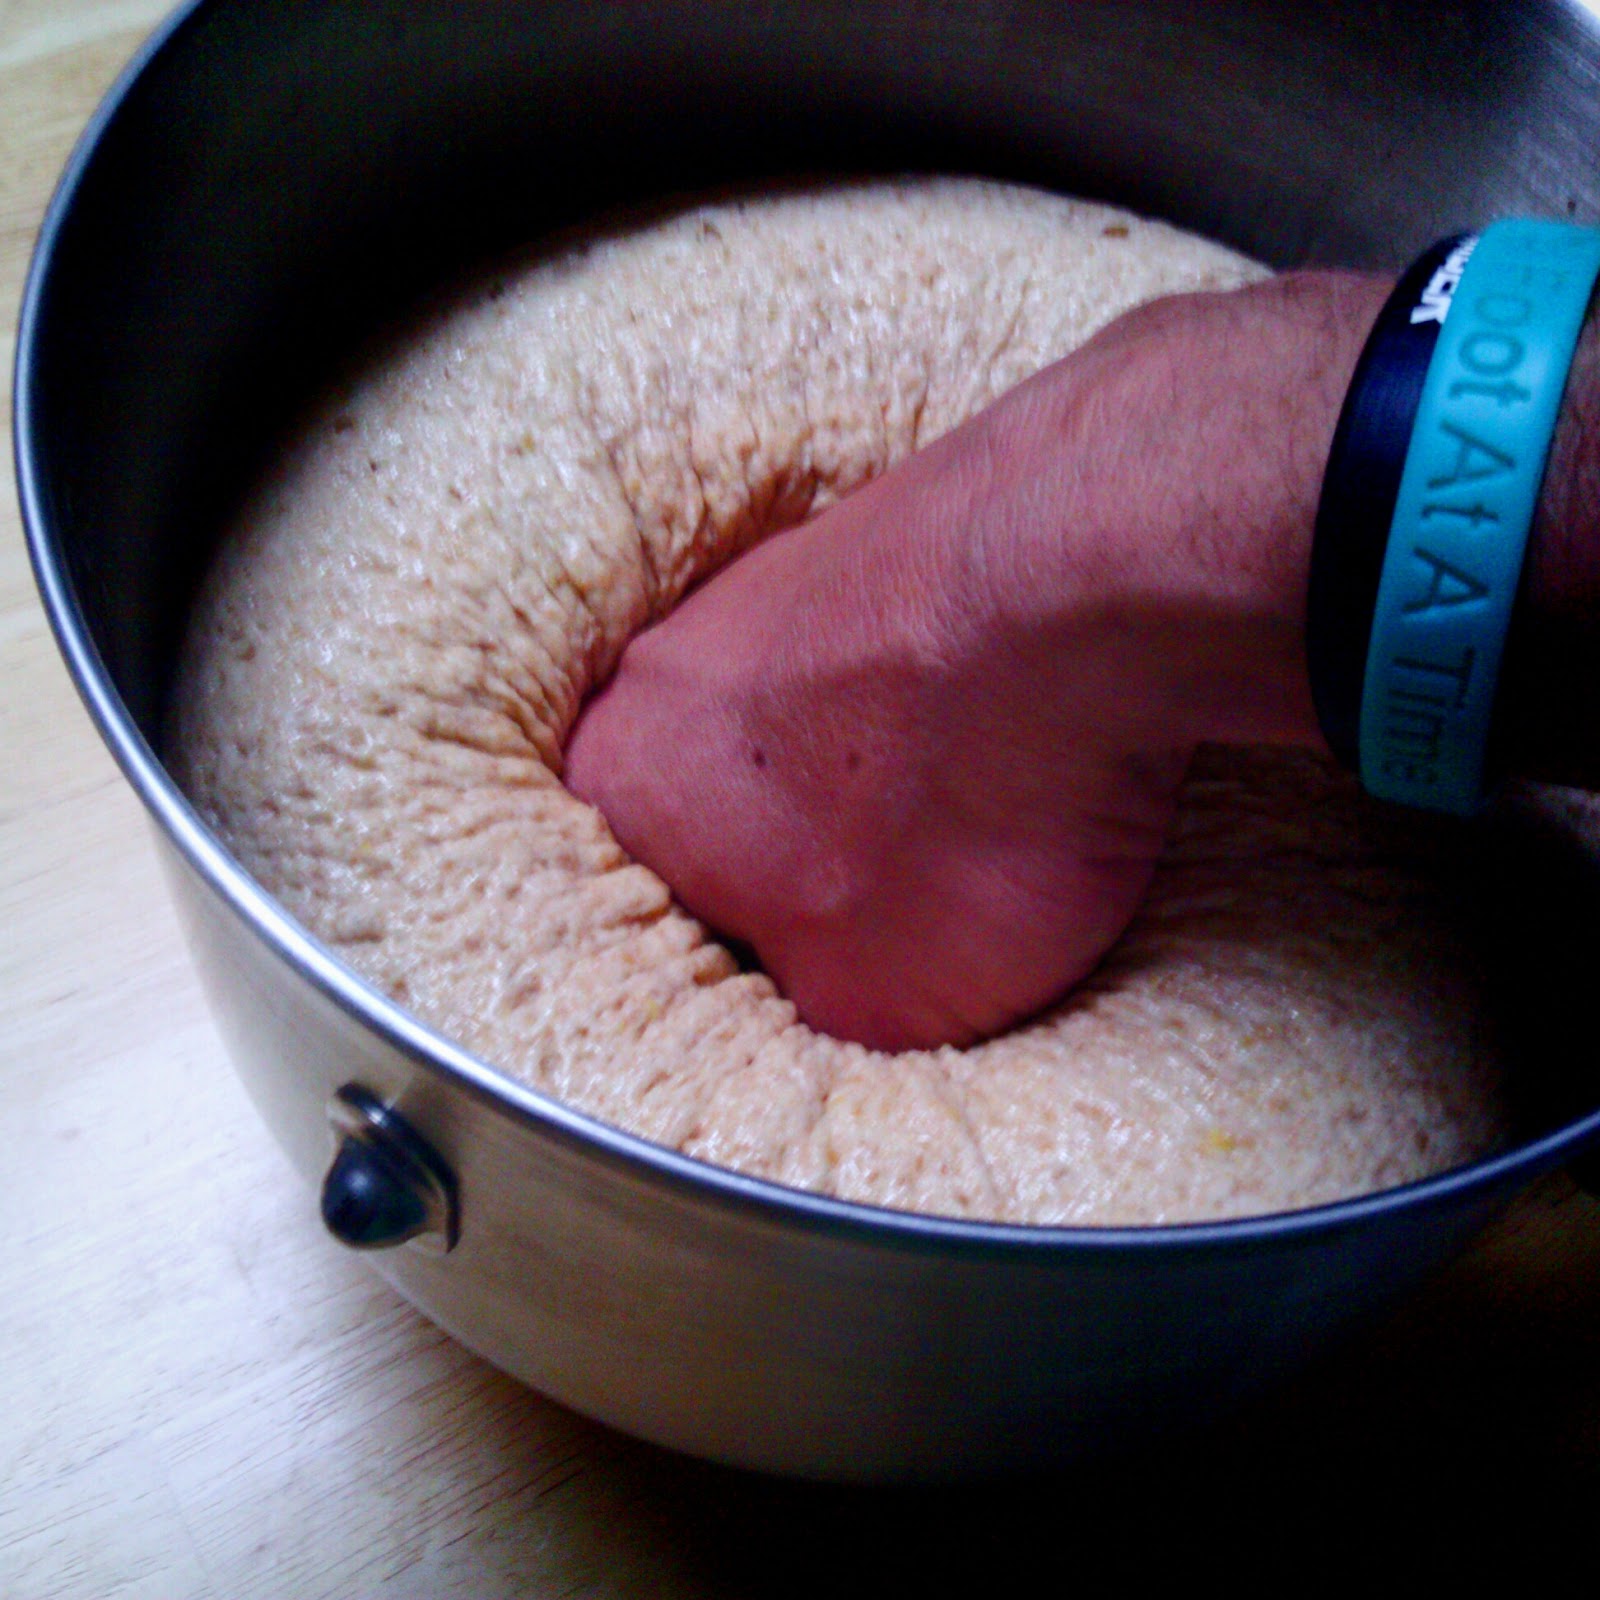
When the dough has about doubled in bulk, punch it down with your fist and turn it out onto a lightly floured surface. Cover and let rest about 10 minutes.


Here's where the real fun begins!

Take about a quarter of the dough and on a lightly floured surface roll out a rectangle about 16 inches long, 10 inches wide and about ½-inch thick. Use a little bit of flour on the rolling pin to keep it from sticking.


Using a knife, cut out a keyhole shape. You can use a small plate as a guide for the top, round end. Line a baking sheet with parchment and carefully transfer the keyhole to it.


Take three small pieces of dough and roll them into long, thin pieces, about 8 inches long. Spread the strands in front of you and join then at the top end. Braid them together, crossing the left strand over the middle strand to the right and then the right strand over the middle strand to the left.


Carefully raise the round end of the keyhole and place the braid under it, centering it at the bottom of the circle. Press down the keyhole where the braid goes under it to flatten it out.


Hand roll out 20 to 30 pieces about 8 inches long and as thin as you can get them. Brush the bottom of the keyhole with a little water to get the dough tacky and lay out the thin dough strands from the place where the braid goes under the keyhole to the bottom.


When you have completely covered the base of the keyhole with the thin strands, fold in the two ends of the braid over the tops of the strands, crossing one over the other and pressing lightly to seal.


Using the remaining dough, make small, slightly elongated balls. Brush the round portion of the keyhole with a little water to make it tacky and place a row of balls around the outer edge. Continue to add balls to fill in the center.


If you have any leftover dough you can make a mouse with a long tail to add near the bottom of the strands.


Let the dough rest for about an hour.


Preheat oven to 375°F.

Brush the Harvest Loaf with a mixture of egg whites and 1 Tbs of water.

Bake for 30 minutes and then lower the temperature to 300°F and bake for an additional  30 minutes until the loaf becomes a rich, golden colour.

Remove from the oven and cool on a wire rack.


This isn't bread that you slice, but rather is best when torn off in pieces and enjoyed in small roll-sized pieces. Perfect for dipping in gravy or just smothered in butter.


Enjoy it. Share it.  As W.J. Cameron said, "Thanksgiving, after all, is a word of action."

Monday, October 24, 2011

Whole Wheat Molasses Oatmeal Bread

"A loaf of bread, a jug of wine, and thou." 
~Omar Khayyam

It was a bread baking kind of Sunday. The weekend had a crazy start. And with a climbing comp and a birthday party all taken care of, it was time to bake. 

But what kind of bread to make?

I asked the Chickabiddy.

"Whole wheat," she answered. There had been food at the comp - very good food - but the bread had been the spongy white stuff and she was craving whole wheat.

I had been thinking of making my soon-to-be famous molasses oat bread. In fact, I had gotten a request for the recipe just recently. But why not make some soon-to-be-famous whole wheat molasses oat bread? I'm not afraid to experiment in the kitchen and half the time I make up recipes anyway - I'm just not very good at remembering to write them down afterwards! The results were fabulous. The whole wheat adds an extra level of wholesomeness and the molasses adds a kiss of sweet that makes this bread perfect with just a pat of butter.


As is my way, I mill my own whole wheat flour, but store-bought whole wheat will work just fine for this delicious recipe.


Whole Wheat Molasses Oatmeal Bread

2 cups whole wheat flour
 to 4¼ cups all purpose flour
2 packages active dry yeast
1¾ cups water
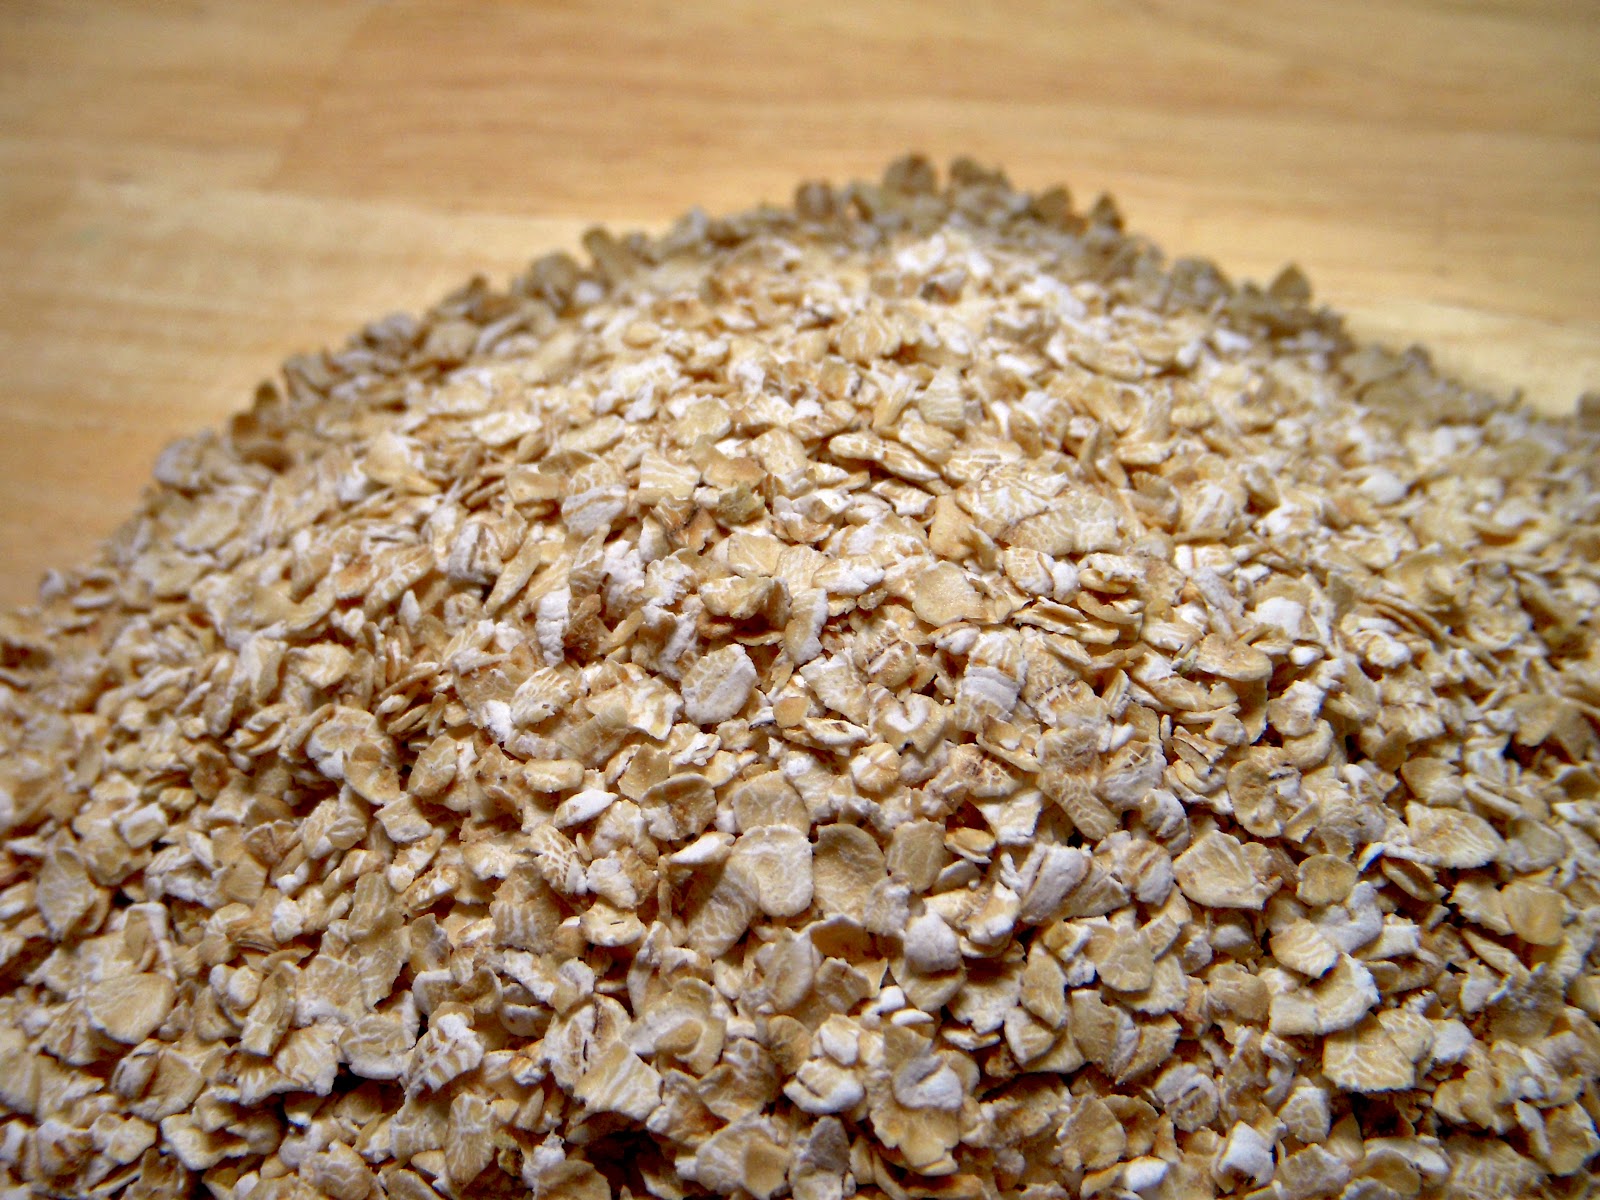
1 cup quick-cooking rolled oats
1/2 cup light molasses
1/3 cup butter
1 Tbs salt
2 eggs
Quick-cooking rolled oats
1 beaten egg white
1 Tbs water


In a large mixing bowl combine the whole wheat flour and the yeast. Set aside.

In a saucepan heat the 1¾ cups water, the 1 cup rolled oats, light molasses, butter and salt until just warm (115°F to 120°F) and the butter is just melted.


Add this to the whole wheat flour and yeast mixture.

Add the two eggs. Beat at a low speed for two minutes, scraping the sides of the bowl constantly.


Beat at high speed for three minutes.

Stir in as much of the all-purpose white flour as you can mix in with a spoon. If you have a Kitchen-Aid, put on the dough hook and let it knead the dough for about five minutes, adding enough of the remaining flour to make a soft dough that is smooth and elastic.


(If you do not have a Kitchen-Aid, turn the dough out onto a lightly floured surface and knead in enough of the remaining flour to make a soft dough that is smooth and elastic - about five minutes.)


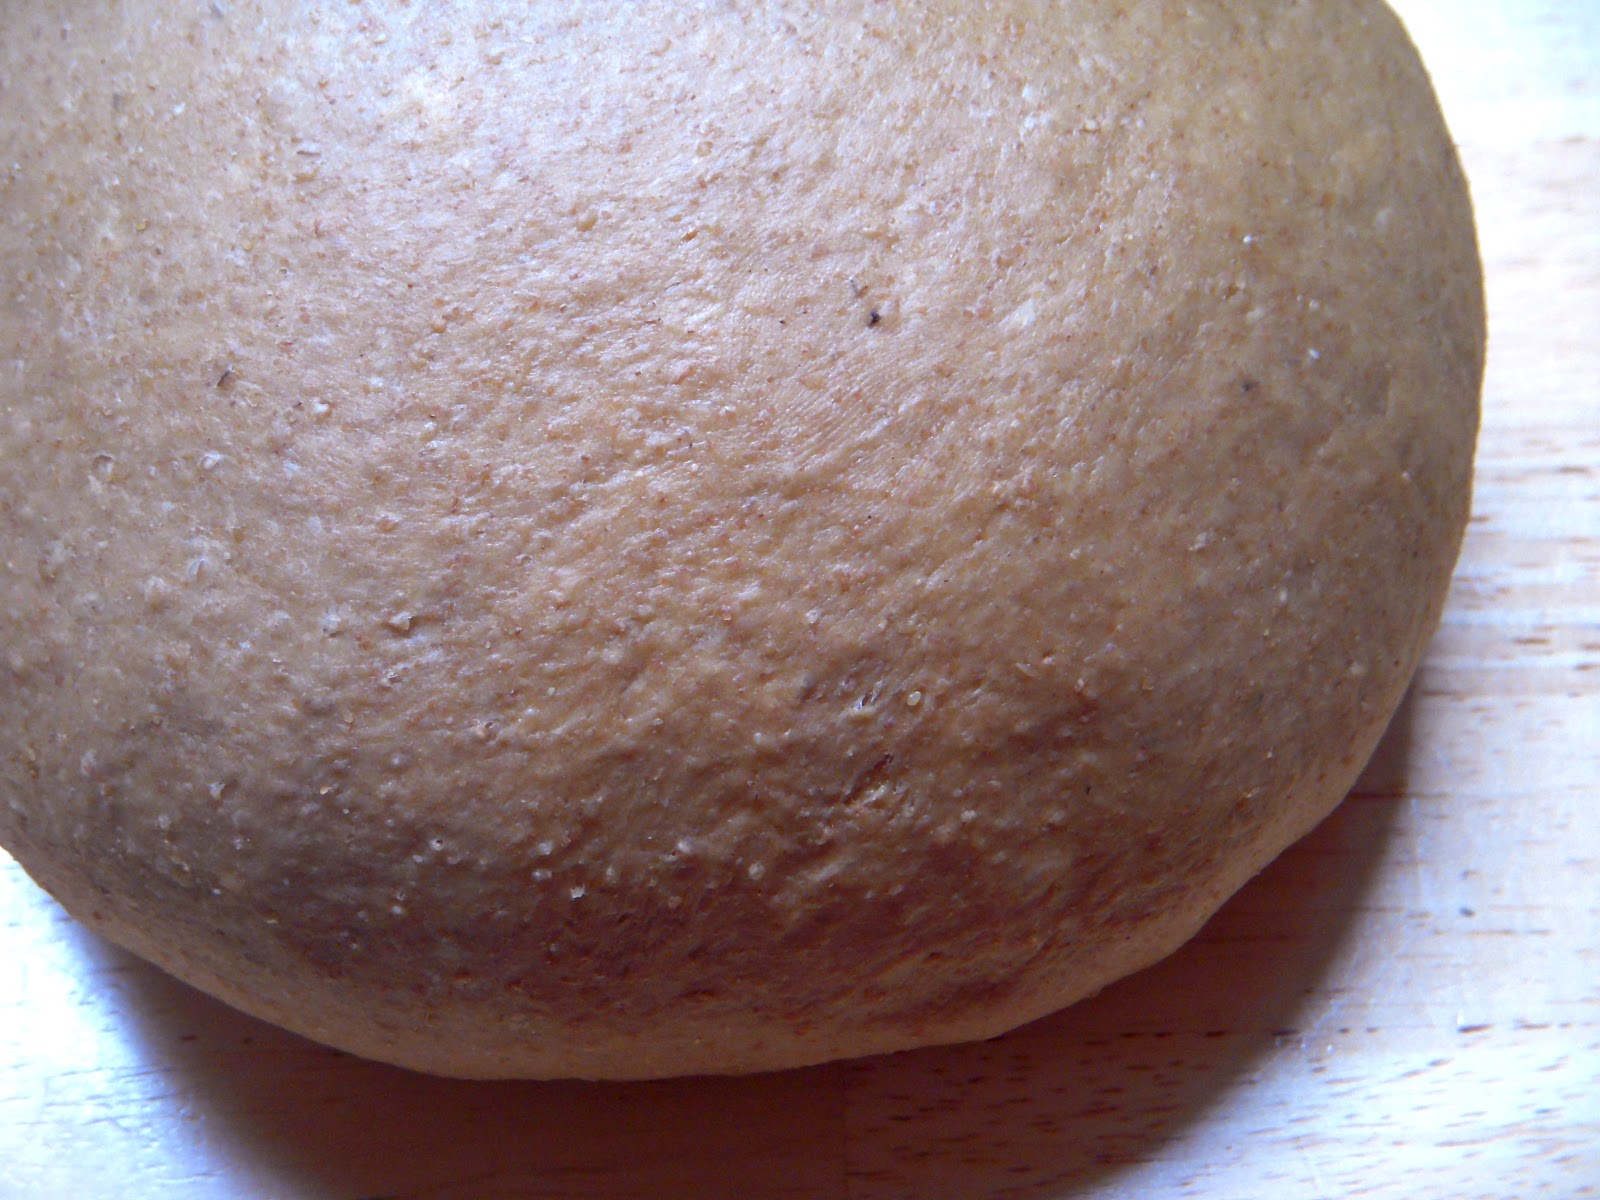
Shape the dough into a ball. Place the dough ball into a lightly greased bowl, turn once to coat all sides of the dough.


Cover. Let rise in a warm place until doubled in bulk - about 1½ hours.


Punch down the dough and turn it out onto a lightly floured surface. Divide the dough in half. Cover and let rest about 10 minutes. Grease two 9x5x3-inch loaf pans. Shape the dough into loaves and place them into the prepared pans.


Cover and let rise until nearly doubled - about 45 to 60 minutes. Brush loaves with a mixture of egg whites and 1 Tbs of water. Sprinkle the tops lightly with additional rolled oats.


Bake in a 375°F oven for 40 to 45 minutes until the loaves are a rich golden brown and sound hollow when tapped with your knuckles. Remove from the pans and let cool on a wire rack.


Enjoy!

Monday, September 19, 2011

Eggs en Cocotte (with Mushrooms and Spinach)

"All happiness depends on a leisurely breakfast."
~John Gunther


egg en cocotte n /g -ɛn -kəʊˈkɒt kə/ egg cooked individually in a small ramekin

(Ramekin? It is just a small dish used for baking and serving. You'll need four of them for this recipe.)

I like making breakfast. There's a certain edge to morning hunger that seems to make people more appreciative and creates an atmosphere conducive to vocalized praise. And to me, the "mmmmmms" and "ahhhhhs" are the real reward of being a cook.

Eggs en Cocotte are perfect because they sound like fancy French cuisine but are actually very simple to make.

In its simplest form, an 'egg en cocotte' is just an egg baked with either butter or cream in a diminutive casserole dish, with the whites set and the yolk soft.

But the variations of what you can do with that base are endless. This iteration was inspired by a post on Google+'s amazing Social Skillet and for it I raided the garden and supplemented that with some mushrooms. The results were spectacular.


Eggs en Cocotte (with Mushrooms and Spinach)
6 cloves garlic, finely chopped
1 small sweet onion, finely chopped
1 red bell pepper, chopped
4 leaves (straws) chives, chopped
10 mushrooms, chopped
6 cups raw baby spinach
1 Tbs olive oil
1 Tbs unsalted butter
5-8 basil leaves, shredded
4 large eggs
salt and pepper to taste


Preheat oven to 350 degrees. Coat the ramekins with oil or butter and set aside.


In a large pan, melt the butter and oil over medium heat. Cook the garlic, onion, pepper, and mushrooms until tender.


Add the baby spinach and chives and cook until soft. Season sparingly with salt and pepper.


Now fill the four ramekins with equal portions of this delicious veggie mix. Make a well in the middle, with the bottom covered, for the eggs.


Carefully break an egg into each of the prepared ramekins. Season with salt and pepper and top with the basil.


Place the ramekins in a baking pan (an 8-inch by 11-inch "brownie pan" works very well) and pour enough boiling water into the pan to come halfway up the sides of the ramekins.

Bake the eggs for about 15 minutes for soft, runny eggs, or about 18 minutes for more set eggs. The eggs do continue to cook in the ramekins even after you remove them from the oven.


Makes 4 servings.

Monday, August 22, 2011

Honey Whole Wheat Bread

"A loaf of bread," the Walrus said, "is what we chiefly need: Pepper and vinegar besides are very good indeed."
~Lewis Carroll, The Walrus and the Carpenter

The Chickabiddy has started school again. And school means packing lunches. And one thing the Chickabiddy loves is sandwiches. Especially peanut butter and jelly sandwiches. This is not uncommon. According to the Great Food Almanac, the average American student will have consumed approximately 1,500 peanut butter and jelly sandwiches upon graduation from high school. That's a lot of PB&J!

As I have stated before and will state again and again, I love baking bread! There is something magical and therapeutic in the process. So each weekend I bake bread so that we have it for the following week for packed lunches or with dinner or just as a snack.

The varieties of breads one can make are pretty endless. From white breads and brown breads, whole grain breads, unleavened and leavened breads, sourdough breads and flatbreads. One of my favorite breads to make is Honey Whole Wheat. It has the whole wheat nutrition, but as it also uses white flour it is lighter and easier to make than 100% whole wheat bread.

I mill my own whole wheat because whole wheat and graham flours contain the oil-rich germ of the wheat kernel and this means that, while it is great nutrition, overflowing with vitamins B and E as well as unsaturated fat and protein, it is easily spoiled and therefor has a short shelf life.

For this reason it is hard to stock-up on whole wheat flours. They just do not last that long. But the un-milled grain will last 30 years or more. I have several five gallon, airtight stainless steel containers filled with grain.


Red Wheat Berries

Freshly milled wheat
Of course, you do not have to mill your own wheat. Buying whole wheat flour in small quantities - either enough for your baking project or keeping it refrigerated or in the freezer - is an excellent option if you do not want or cannot mill your own.

Either way, once you have eaten freshly baked bread prepared from whole grains, you won't want any other kind.

Honey Whole Wheat Bread
3 cups stone-ground whole wheat flour1/3 cup honey
1/4 cup lard
1 Tbs salt
2  packages active dry yeast
2 1/4 cups very warm water (120°F to 130°F)
3 to 4 cups all-purpose flour

Mix the whole wheat flour, honey, lard, salt and yeast in large bowl. Add the warm water. Beat this mixture with an electric mixer on low speed for about one minute, scraping the bowl frequently. Beat on medium speed for one minute, scraping the bowl frequently.


Stir in enough all-purpose flour, one cup at a time, to make dough easy to handle. You want it to to be just slightly tacky so that it clings to your hand if you press against it but does not stick to it and leave you dough-covered.


Turn your dough onto a lightly floured surface and knead it about 10 minutes or until it becomes smooth and elastic.

How do you know when bread is sufficiently kneaded? The dough will lose its tackiness and become smooth and springy. As it is almost impossible to over-knead bread, it is better to knead too much than not enough.

Place the dough in a greased bowl and turn the dough around to cover all sides. Lightly cover and let it rise in a warm place for 40 to 60 minutes or until the dough is about double in bulk.


The dough is ready if you poke it with you finger and the indentation remains.


Grease the bottoms and sides of two loaf pans. Nine-inch by 5-inch or 8 1/2-inch by 4 1/2-inch pans work perfectly.

Punch down the dough and divide it in half.


Form a loaf with each half of the dough and place them in the pans.


Sprinkle the loaves lightly with whole wheat flour.


Cover and let them rise in a warm place for 35 to 50 minutes or until about double in size.


Before you preheat your oven, move the oven rack to a low position so that the tops of pans will be in center of the oven. Preheat the oven to 375°F.

Bake the loaves for 40 to 45 minutes or until they are a deep golden brown and sound hollow when tapped.


Remove the loaves from the pans to a wire rack and let them cool about 10 to 15 minutes before slicing (this is the hardest part as the smell will be driving you wild).


And remember, it is as Robert Browning said, "If thou tastest a crust of bread, thou tastest all the stars and all the heavens."